If you’re looking to make customized labels, look no further than Microsoft Word. Whether for personal or professional use, Word provides a comprehensive feature set for creating personalized mailing labels. Here’s how to do it.
Making Custom Labels in Word
When you consider how long Word has been around, it’s no surprise the application has evolved past creating only simple documents. Not only does it provide the tools to create personalized envelopes it also comes equipped to make custom labels to go with them.
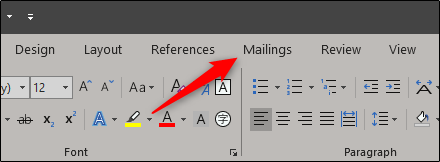
Go ahead and open a blank Word doc and head over to the “Mailings” tab.

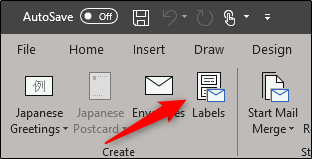
Next, click the “Labels” button.

In the Envelopes and Labels window that opens, you’ll find yourself already on the “Labels” tab. Type the information you want on the label into the “Address” box. If you’ve previously created an envelope and saved your return address, then you can tick the box next to “Use return address,” and it will transfer the information for you.
In the “Print” section, you can specify that you’d like to print a full page of the same label. Alternatively, you can select the “Single Label” option and specify the rows and columns if you want to print a specific number of labels.


